
Technical guide
Fixings, illumination
& electrics explained.
How your sign lights up, how it fixes to the building, which site approvals to check and who takes care of the power.
A better sign starts with the details
Beautiful on the outside.
Considered behind the scenes.
A halo-lit reception logo, a shopfront lightbox and a freestanding outdoor sign need very different approaches. Light, wall construction, access and exposure all influence how your sign is made and installed.
Explore the visual options below, then check the practical requirements for your site. These examples help shape your brief; they are not a site-specific fixing design or an electrical installation specification.
The light
Appearance, white tone and visibility.
The support
Surface, structure and fixing detail.
The power
Drivers, access and electrical scope.
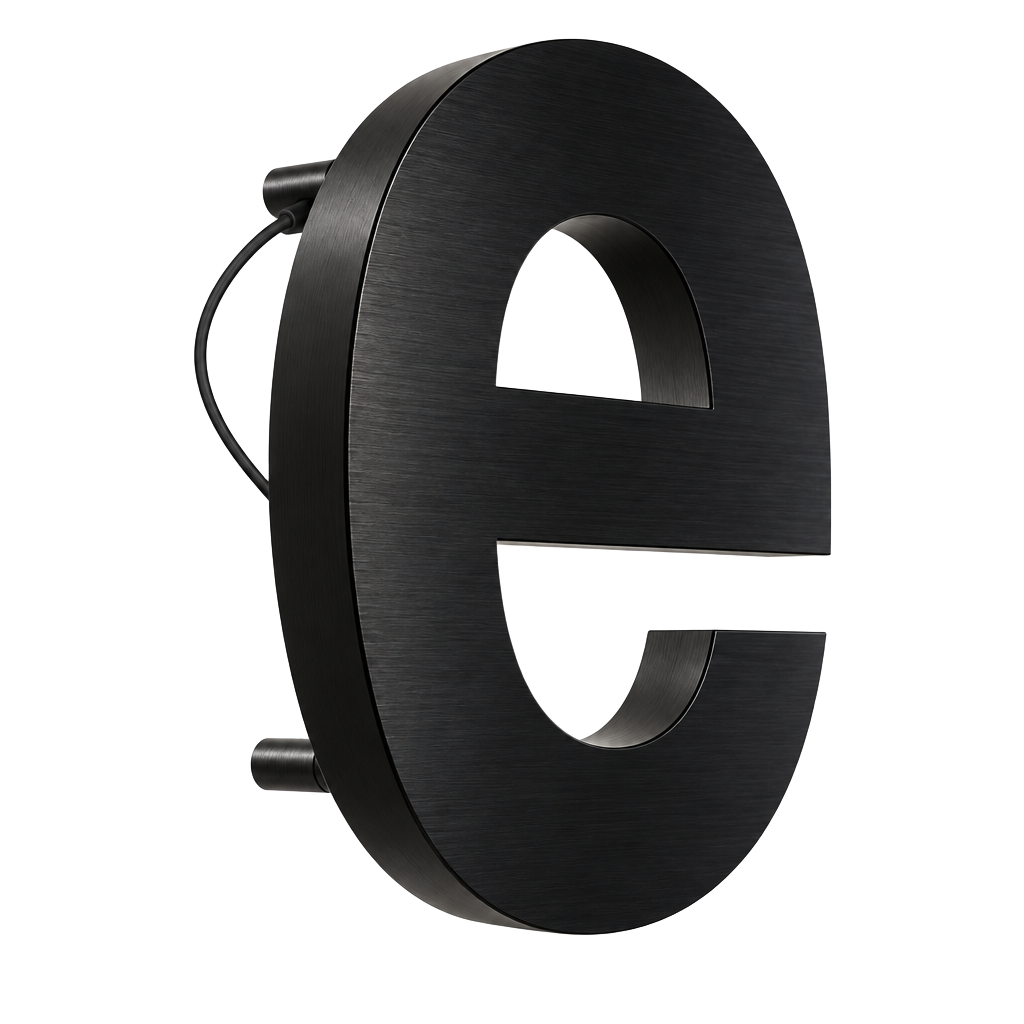
Illumination studio
See it lit. See it off.
Lighting changes the character of a sign — from a crisp illuminated face to a soft halo behind solid lettering. Compare eight constructions and their warm-to-cool white appearance.
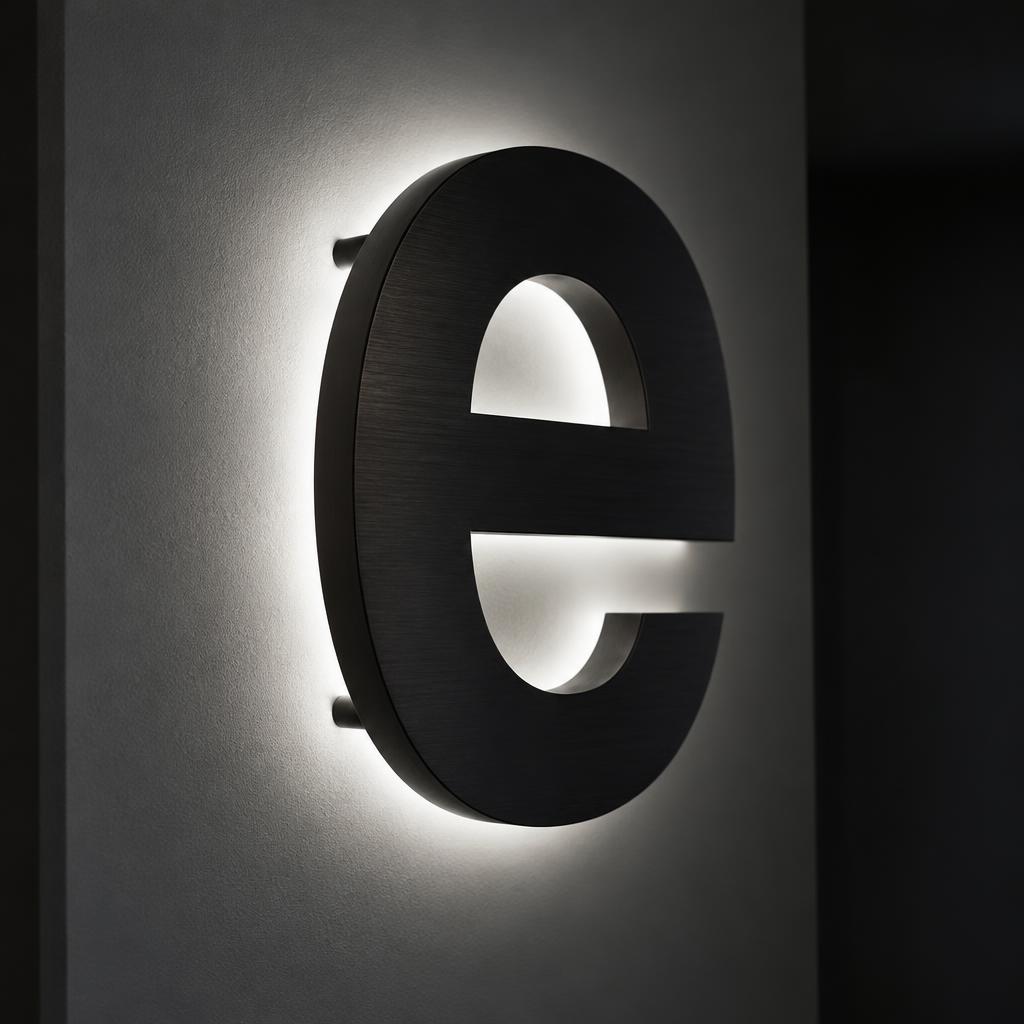
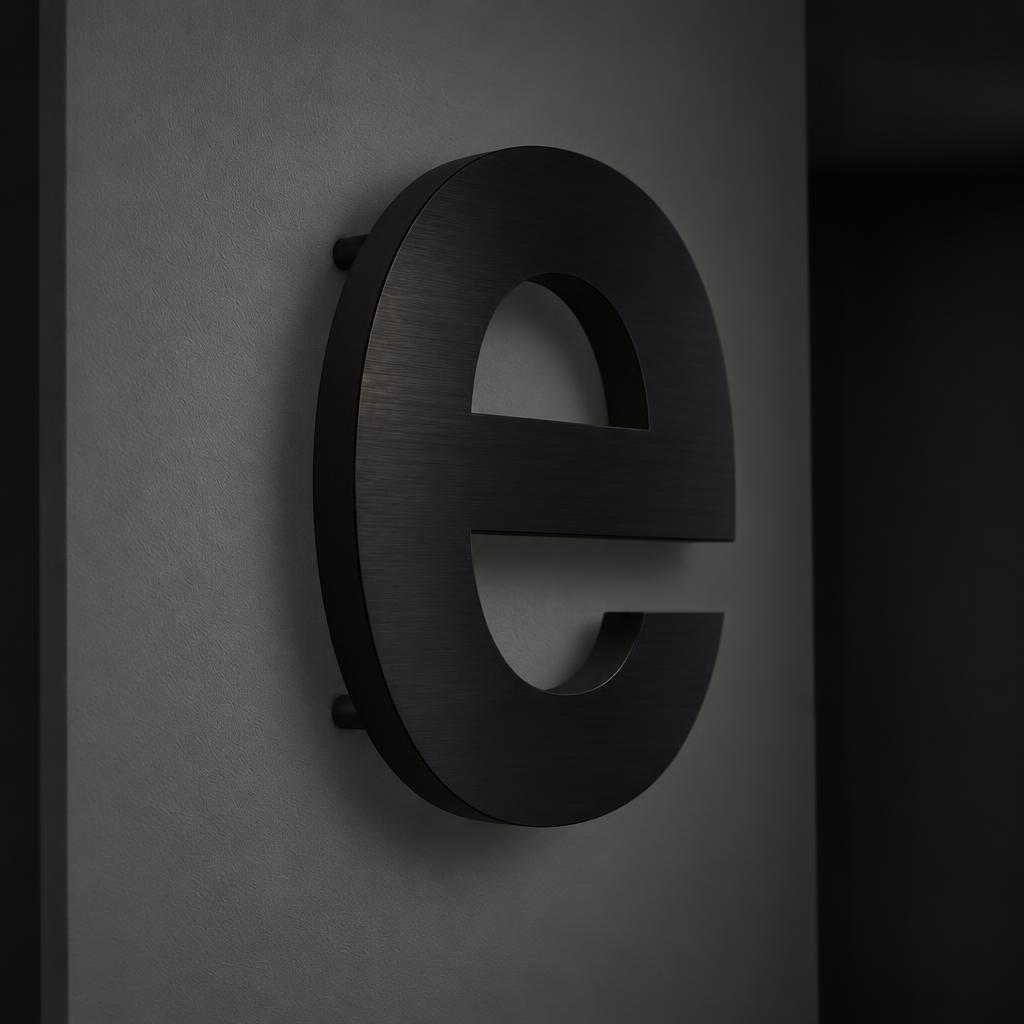 OffOn · 4000K
Lights
LED white · colour temperature
Halo-lit (back-lit)
Solid metal face; LEDs fire backwards onto the wall through a clear back, letters on spacers.
12V / 24V DC
IP67 outside
Best for
Hotels, receptions, premium façades
Wall colour and texture are part of the effect — pale, smooth walls glow best.
Other lighting systems we build
Fabric (SEG) lightbox
Printed stretch fabric with silicone edge pushed into a lit aluminium frame.
Edge-lit acrylic / slim box
LEDs along the edge of a light-guide or engraved acrylic sheet.
External trough light
Slim LED trough on brackets above the sign, washing light down.
Spot & projector lighting
Individual spotlights or swan-neck lamps aimed at the sign.
RGB / addressable colour
Colour-changing or pixel-addressable LEDs with a controller (DMX, app or remote).
Fixings explorer
The right connection.
For the right surface.
From concealed letter studs to structural frames, the fixing depends on the sign’s weight, its location and what sits behind the wall. Final details require a survey; large or high signs may need an engineer.
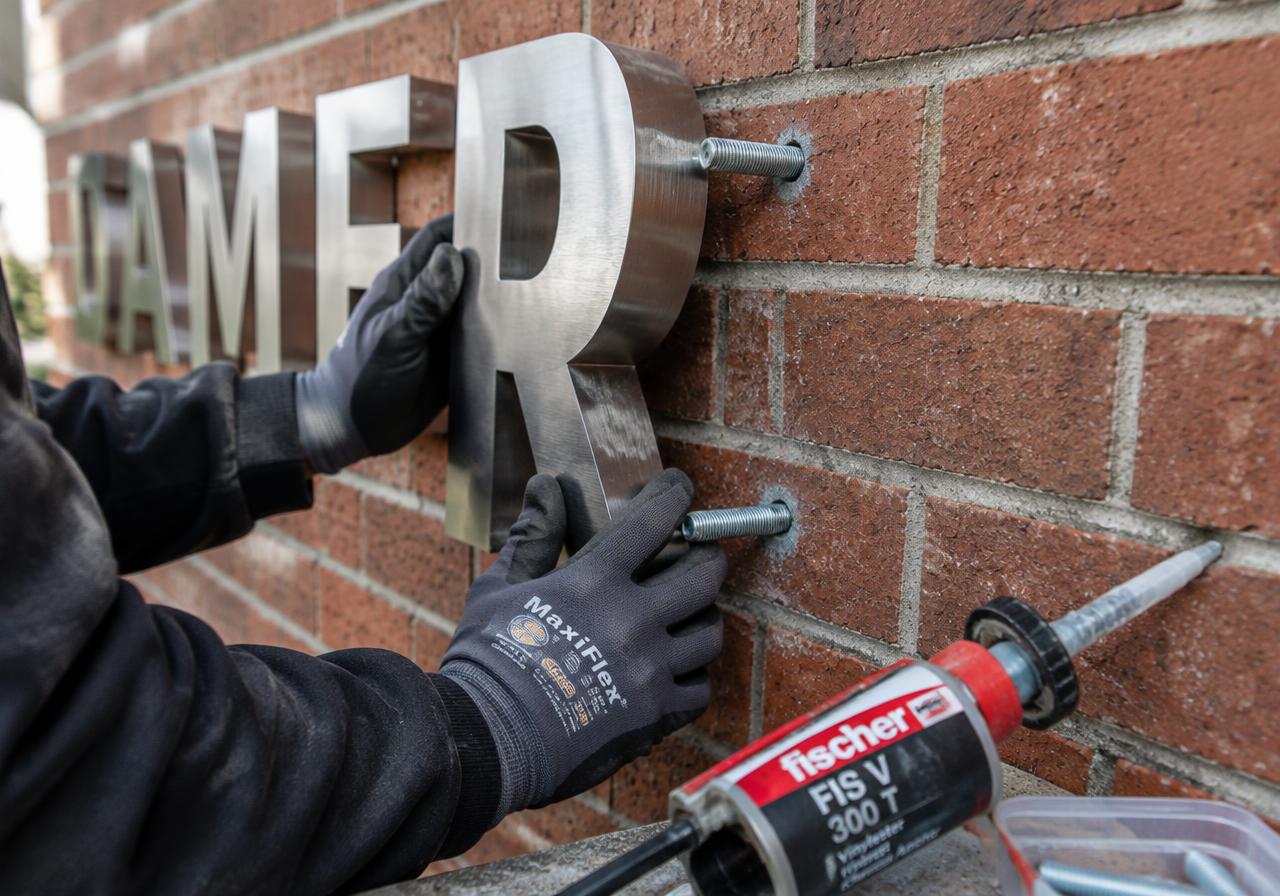
Masonry & direct
Threaded studs in resin anchor
Stainless studs on the back of letters, set into resin-filled holes drilled to a paper template.
- When to use
- Built-up letters and plaques where nothing should show.
- What you see
- Hidden
- Cables
- Through a drilled hole behind a letter stroke.
Suits: Solid brick / stone / concrete · Lightweight block
Surface considerations
- Solid brick / stone / concrete: Fix into sound masonry, not mortar joints alone; check for spalling.
- Lightweight block: Aerated blocks need resin with mesh sleeves or specialist anchors; loads are lower.
Power supply & electrics
Who does what with the power.
We are not responsible for mains electrics. Clever Signs supplies and installs the sign and its low-voltage parts. Mains supply, protection, isolation, final connection and certification must be carried out by a qualified electrician appointed by the client, in line with BS 7671.
Clever Signs supplies
- LED modules and low-voltage wiring inside the sign
- LED driver(s) sized with headroom, IP-rated where needed
- Low-voltage tails and connectors at an agreed position
- Wattage, voltage and wiring diagram for your electrician
- Installation of the sign and its low-voltage parts
Your electrician provides
- Mains (230V) supply to the agreed position
- Fused spur / RCD protection at the distribution board
- External isolator switch where required
- Final mains connection of the driver
- Testing and certification of the mains work
Weather ratings (IP)
IP20
Indoor, dry
Receptions, offices, retail interiors. Not protected against water.
IP44
Splash protected
Covered entrances and canopies away from direct rain.
IP65
Jet-proof
Sealed exterior lightboxes and drivers in enclosures.
IP67
Temporary immersion
Exterior halo letters, outdoor neon, exposed modules and drivers.
Controls & switching
- Photocell: Switches on at dusk and off at dawn automatically.
- Time clock: Programmed hours — useful for planning curfews and saving energy.
- Dimming (0–10V / DALI / PWM): Reduces brightness at night or links to building controls.
- Remote & app control: Colour and brightness for neon and RGB features.
- Fireman’s / external isolator: Lockable switch so the sign can be isolated for maintenance or emergency — installed by the electrician.
Driver & cable check
How big a driver? How thick a cable?
LEDs should use no more than 80% of a driver’s rating. Long low-voltage runs lose voltage, making far letters dimmer — 24V halves the current of 12V for the same power. Guidance only; we confirm on every quote.
Driver
100W
needs ≥ 90W
Min. cable (≤5% drop)
0.75mm²
2.9% drop
Conditions & usage
Where the sign lives changes the spec.
Interior
Most options available; IP20 drivers, lighter fixings. Check wall type before choosing heavy signs.
Exterior & high street
IP67 LEDs, sealed returns with drain holes, stainless fixings, wind loads considered.
Coastal & exposed
Marine-grade 316 stainless fixings, higher-spec powder coat, extra sealing.
Conservation & listed buildings
Planning and listed building consent are often needed; external lighting or halo often preferred; fix into mortar joints where advised to avoid damaging stone.
High level & access
Scaffold, MEWP or rope access may be needed; access permits and pavement licences arranged in advance.
Food, wet & clean areas
Sealed, wipe-clean finishes and suitable IP ratings near water or washdown.
Filming & camera
Flicker-free drivers and dimming tested with the actual camera settings.
Temporary & events
Removable fixings, plug-in power, ballast or clamp systems; venue rules apply.
Before you commission
Your technical questions, answered.
01Do you connect the sign to the mains?
No. We supply and install the sign with its low-voltage parts and drivers. A qualified electrician must provide the mains supply, protection, isolator and final connection, and certify their work.
02Where does the driver (transformer) go?
Inside the sign, behind a letter, in a ceiling void or a nearby cupboard. It must stay accessible for maintenance. Long cable runs need thicker cable to avoid dimming.
03Do I need planning permission for an illuminated sign?
Illuminated signs often need advertisement consent from the local council, and listed buildings need extra consent. We can advise and supply drawings, but approval depends on your council.
04Can signs fix to cladding?
Usually through to the structure behind, using brackets and sealed penetrations. The building owner or landlord may need to approve the fixing method.
05How long do LEDs last?
Quality LED modules are commonly rated for tens of thousands of hours, but drivers, heat and moisture affect real life. Ratings are manufacturer figures, not guarantees.
06How much power will my sign use?
We give you the total wattage at quote stage. Typical letters use a few watts per letter; large lightboxes more. Timers and photocells reduce running hours.
07Can I remove the sign later?
Locators, battens and frames make removal easier. Resin studs leave holes that need making good.
08Who arranges access and permits?
We can plan access equipment and pavement licences. Landlord approval and building surveys are the client’s responsibility unless agreed.
Before manufacture
Beautifully specified.
Responsibly planned.
Planning, permissions & site approvals are part of a good signage brief. Check the building, the public space and the people responsible before a concept becomes a finished sign.
Check the actual address
Building status, local controls, landlord requirements and public-highway boundaries.
Agree who obtains approvals
Keep written decisions, approved drawings and any conditions with your sign schedule.
Appoint your electrician
Building mains work and final electrical certification remain your electrician’s responsibility.
General guidance, not legal advice, approval or a site-specific engineering design. Advertisement examples here refer to England; confirm the rules for your UK jurisdiction with the relevant authority.
01Advertisement consentSize, position, illumination and location—not just the sign type.
- In England, some advertisements benefit from deemed consent only when every condition of the relevant class is met. Others need express advertisement consent. A non-illuminated sign is not automatically exempt.
- Provide scaled elevations, dimensions, projection, height, materials, illumination and operating hours. Amenity and public safety inform the authority’s assessment.
- Check the proposal before manufacture. A survey, a design approval or an existing neighbouring sign does not grant consent. Scotland, Wales and Northern Ireland have their own rules.
02Listed buildings, conservation & landlordsSeparate approvals can apply to the same frontage.
- Listed-building consent may be required where alterations affect special architectural or historic interest. Fixings, cable routes and removal of an existing sign can matter as much as the new face.
- Conservation-area status and local controls can restrict deemed consent. Do not assume all heritage signs must be unlit, or that a previous installation permits a replacement.
- Review your lease and obtain any required landlord, estate or centre-management consent, including a licence to alter where applicable. These approvals do not replace public permissions.
03Projecting signs, canopies & public highwaysProjection, headroom and pedestrian access need a local check.
- A blade sign, bracket or canopy over a public highway may require separate highway-authority permission or a licence. Advertisement consent does not settle this.
- Record the underside height, full projection including brackets, pavement width, street furniture and proximity to the carriageway. Consider wheelchair users, visually impaired pedestrians and servicing access.
- There is no single clearance figure suitable for every UK site. Obtain the authority’s requirements for the actual location before committing dimensions. Scaffolding, lifting equipment or pavement occupation may need further permits.
04Wall construction, loads & safe accessThe visible finish is not necessarily the load-bearing support.
- Review substrate condition, concealed structure, cladding, insulation, anchor positions and weather sealing. Do not attach a substantial sign to decorative panels without checking the support behind them.
- Projection, wind exposure, weight and public contact influence the support design. Large, high-level, suspended and freestanding assemblies may require structural-engineering input.
- Agree access equipment, safe working arrangements, delivery routes, isolations and trading windows. An out-of-hours request is subject to confirmed resources and site permission.
05Materials, exposure & finish approvalAgree physical samples and review the complete assembly.
- Approve material grade, coating, brush direction, visible joints and colour samples in the intended setting. Metal, film and illuminated acrylic can appear different even against the same colour reference.
- Review salt exposure, UV, rain, condensation, drainage, corrosion compatibility and cleaning products. An IP-rated LED or driver does not make the entire sign waterproof.
- Where fire, acoustic or venue performance is required, obtain evidence for the exact materials and construction. Preserved moss needs suitable indoor conditions; decorative or generated visuals are not performance evidence.
06Light spill, controls & electrical scopeA considered glow—with power responsibilities agreed early.
- Review brightness, surrounding windows, road users, operating hours, glare and dimming. A warm LED tone is not by itself proof of acceptable light spill; critical effects need a physical sample.
- Agree LED load, compatible drivers and controls, cable routes, ventilation and accessible driver locations. Concealed wiring should still be maintainable.
- Building mains supply, protection, isolation, final mains connection and certification are the responsibility of the client’s appointed qualified electrician—not Clever Signs. Sign components and internal low-voltage work follow the agreed project scope.
07Accessible routes, fire strategy & venue rulesBrand identity and safety information have different jobs.
- Keep entrances, escape routes and pedestrian sightlines clear. Coordinate sign positions, legibility, tactile information and verified Braille with the project’s access adviser.
- Emergency escape signs and their illumination follow the premises’ fire strategy. Ordinary branded wayfinding is not a substitute for the specified emergency system.
- Confirm applicable national requirements and any centre, venue or landlord rules. A material choice, raised lettering or product label does not establish blanket DDA, Part M or fire compliance.
08Approval records, installation & aftercareRelease production only against the agreed project package.
- Keep approved artwork, drawings, material samples, authority decisions and landlord permissions together. Record who obtains each approval and any conditions before the production release.
- For multi-site work, check each address rather than copying one store’s permissions. Agree site readiness, access windows, installation scope and handover evidence separately.
- Plan cleaning, graphic replacement, driver access and periodic inspection of supports. Agree maintenance responsibility and retain the sign schedule and component details for future changes.